
Viewqentrox
Viewqentrox

Master the exact techniques to strip old varnish safely without damaging delicate antique wood structures.
Learn professional sanding sequences that preserve original wood grain and natural patinas perfectly.
Equip your home workshop with straightforward, budget-friendly tools that deliver genuine results every time.
Revive family heirlooms with confidence through step-by-step guidance designed specifically for vintage furniture.

Camille Laurent
Restoration Expert

Chloé Bernard
Wood Finisher

Manon Dubois
Workshop Lead

Juliette Leroy
Tool Specialist

Lucie Moreau
Project Consultant
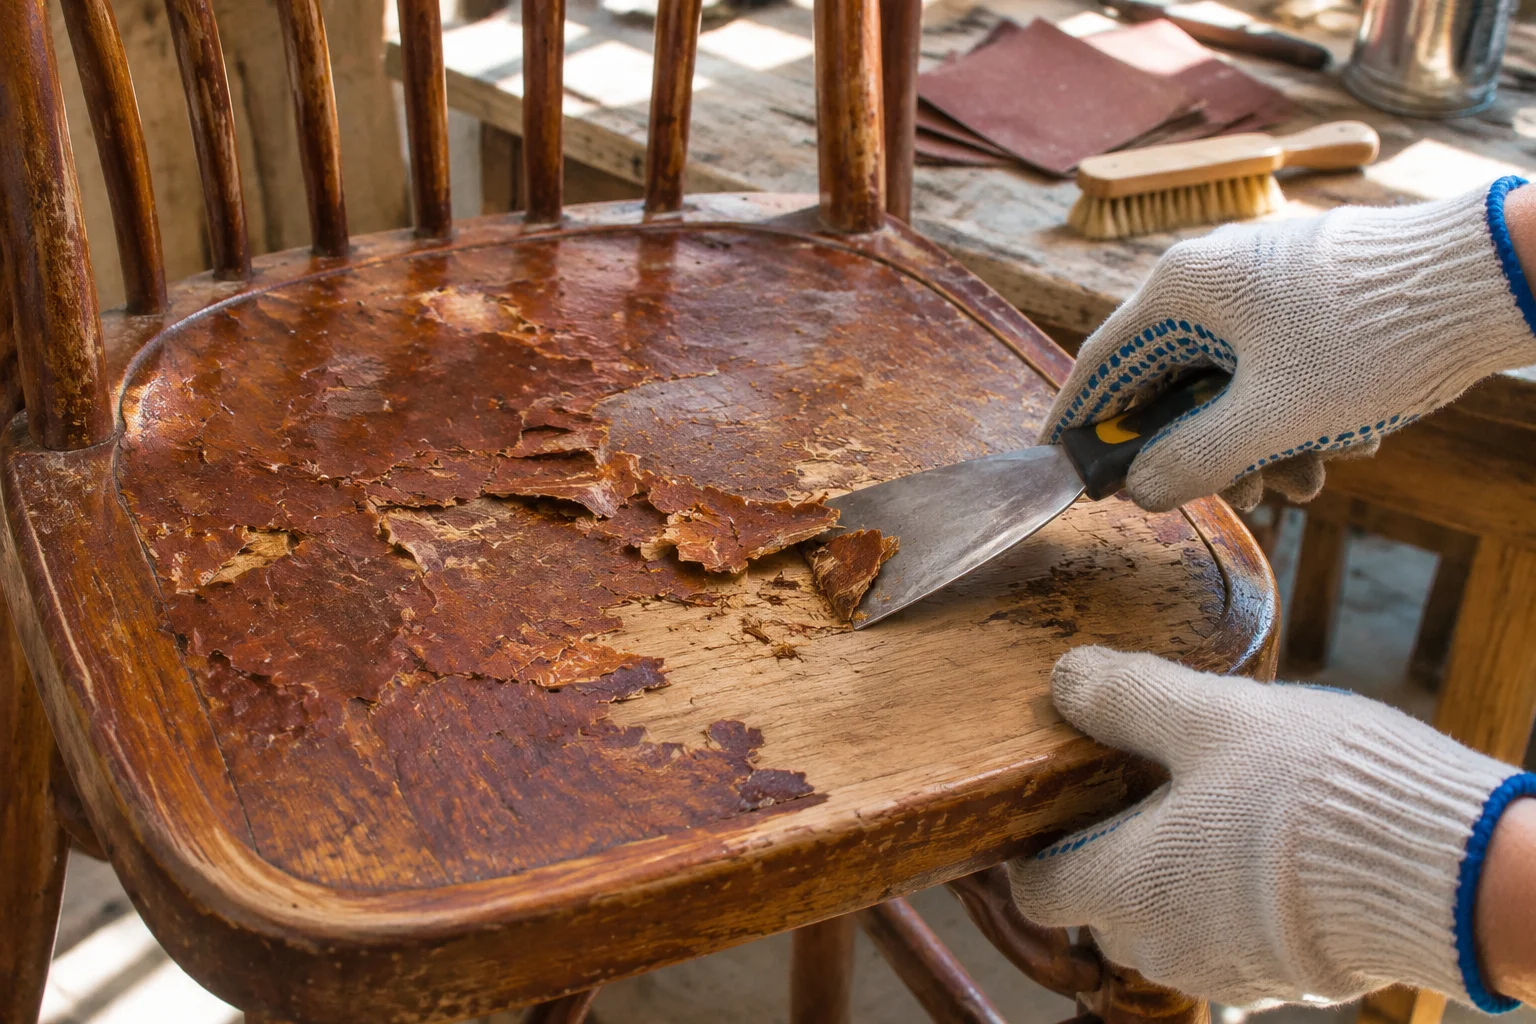
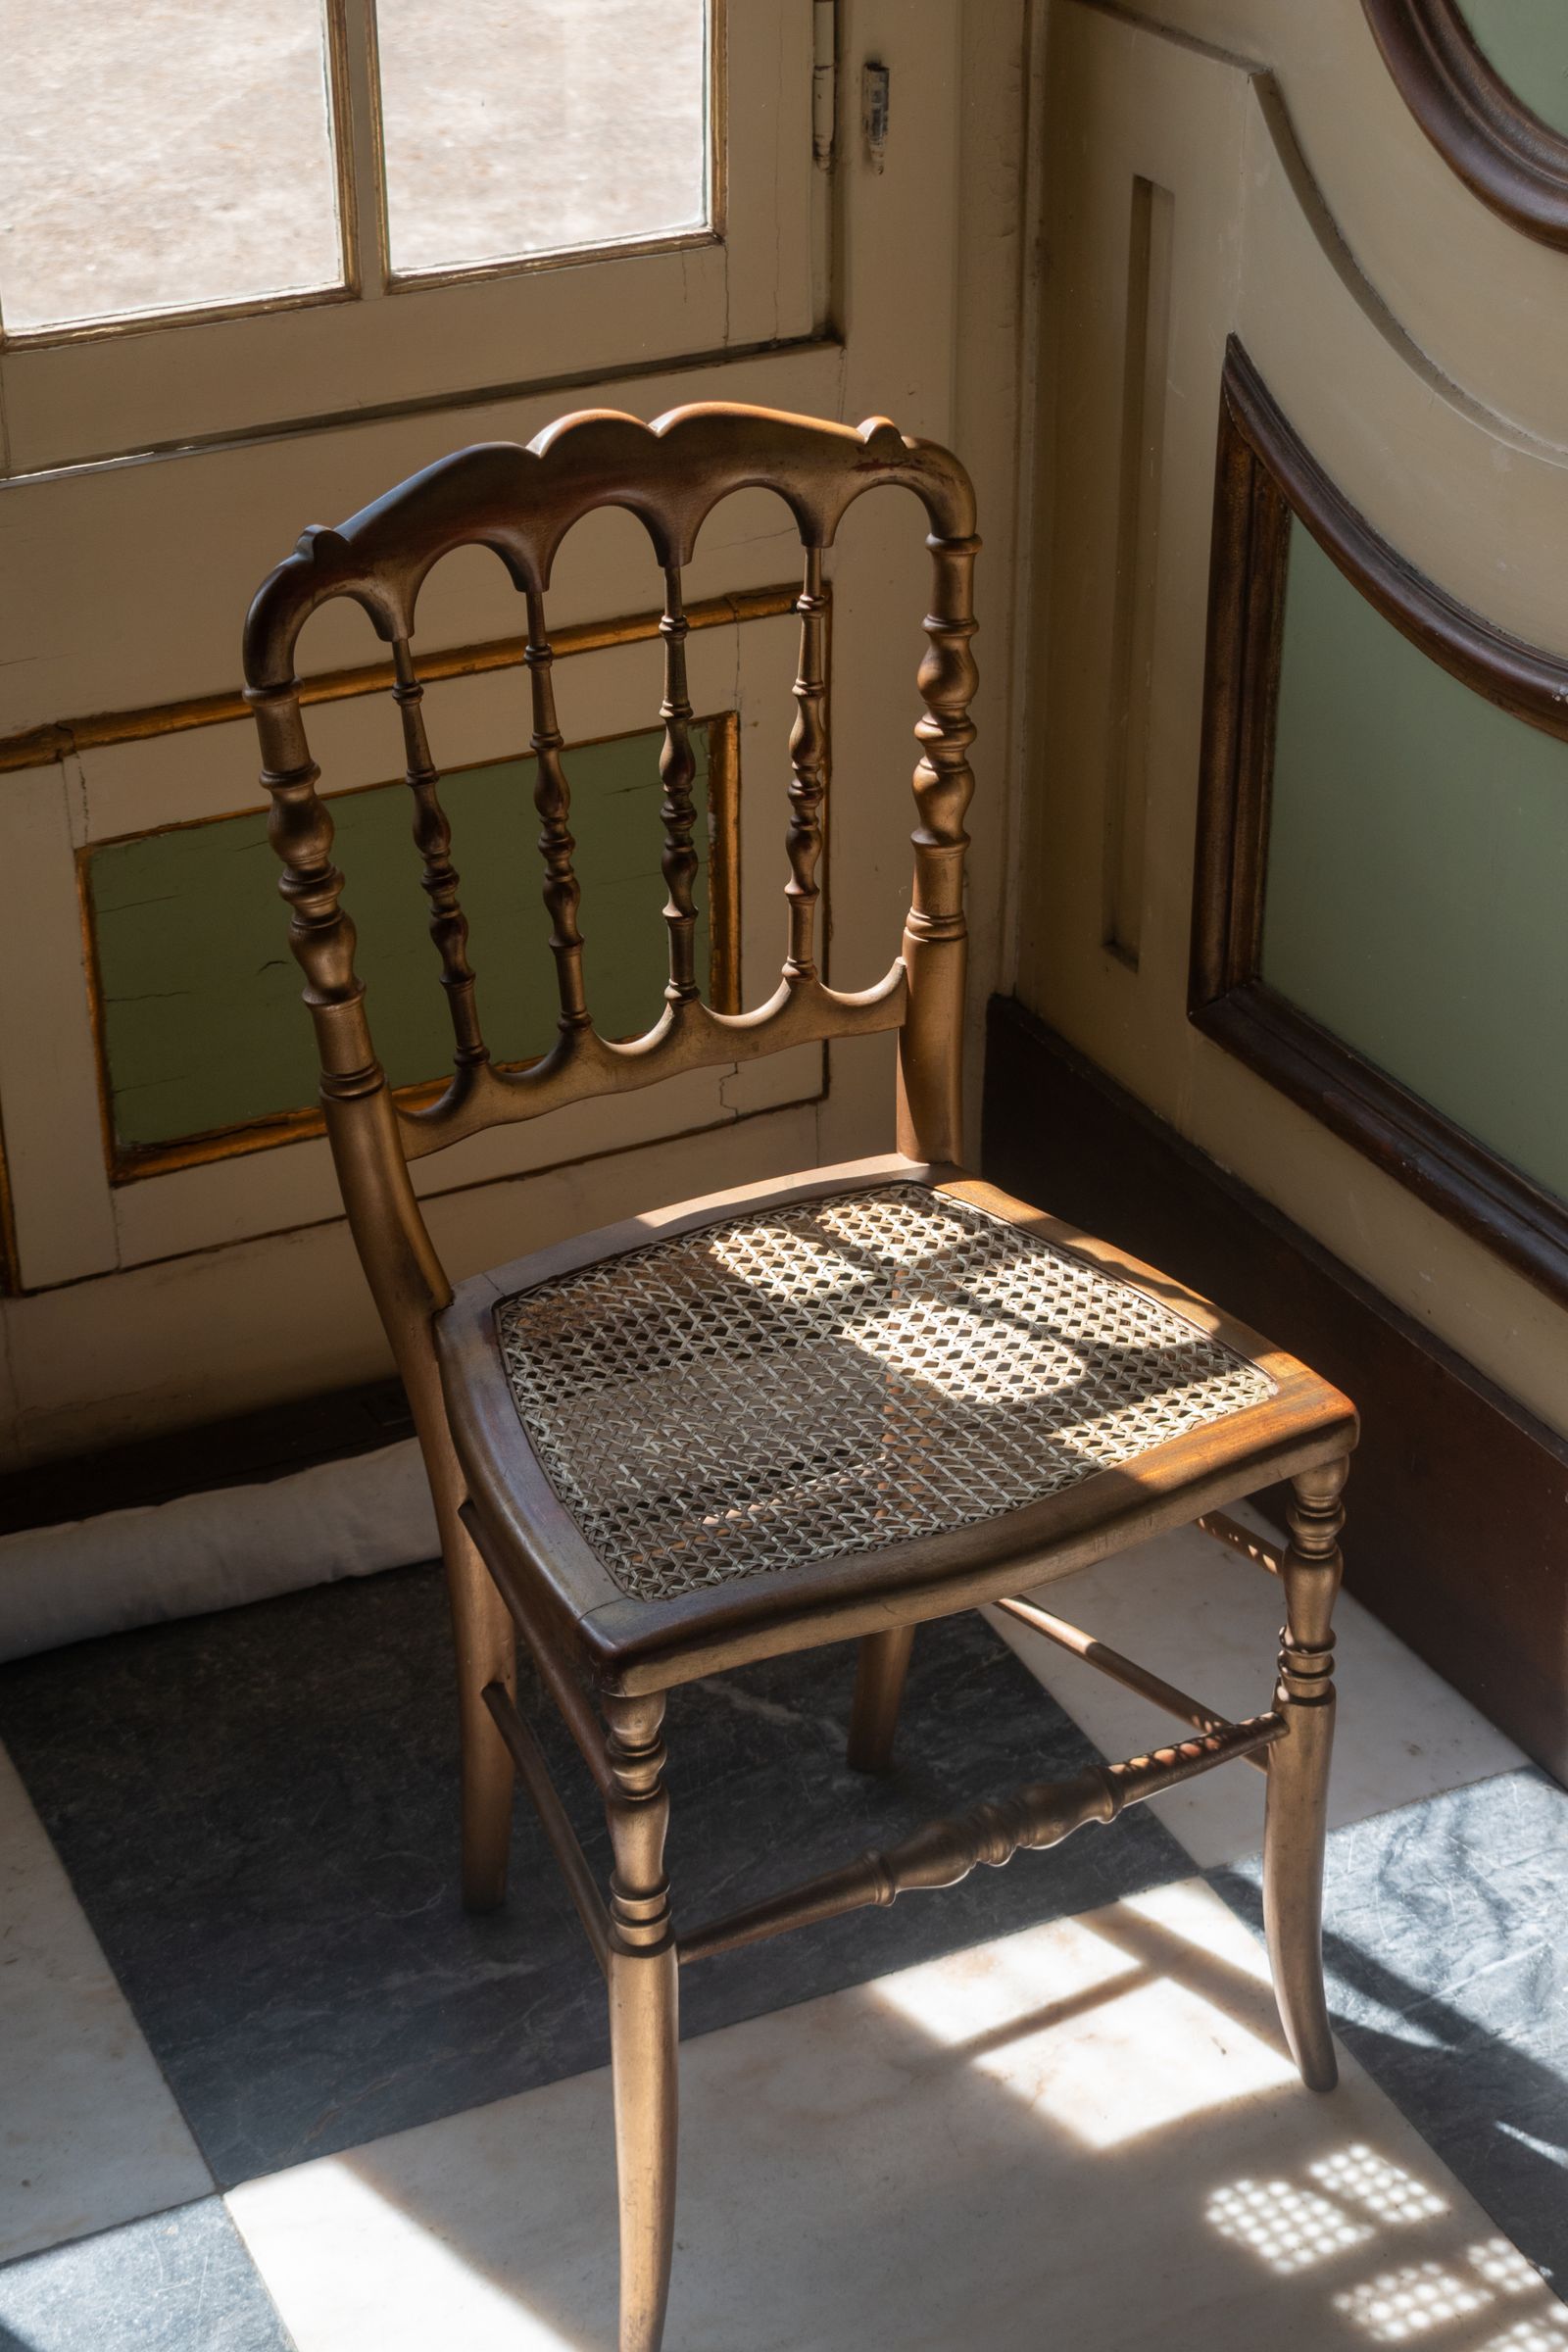
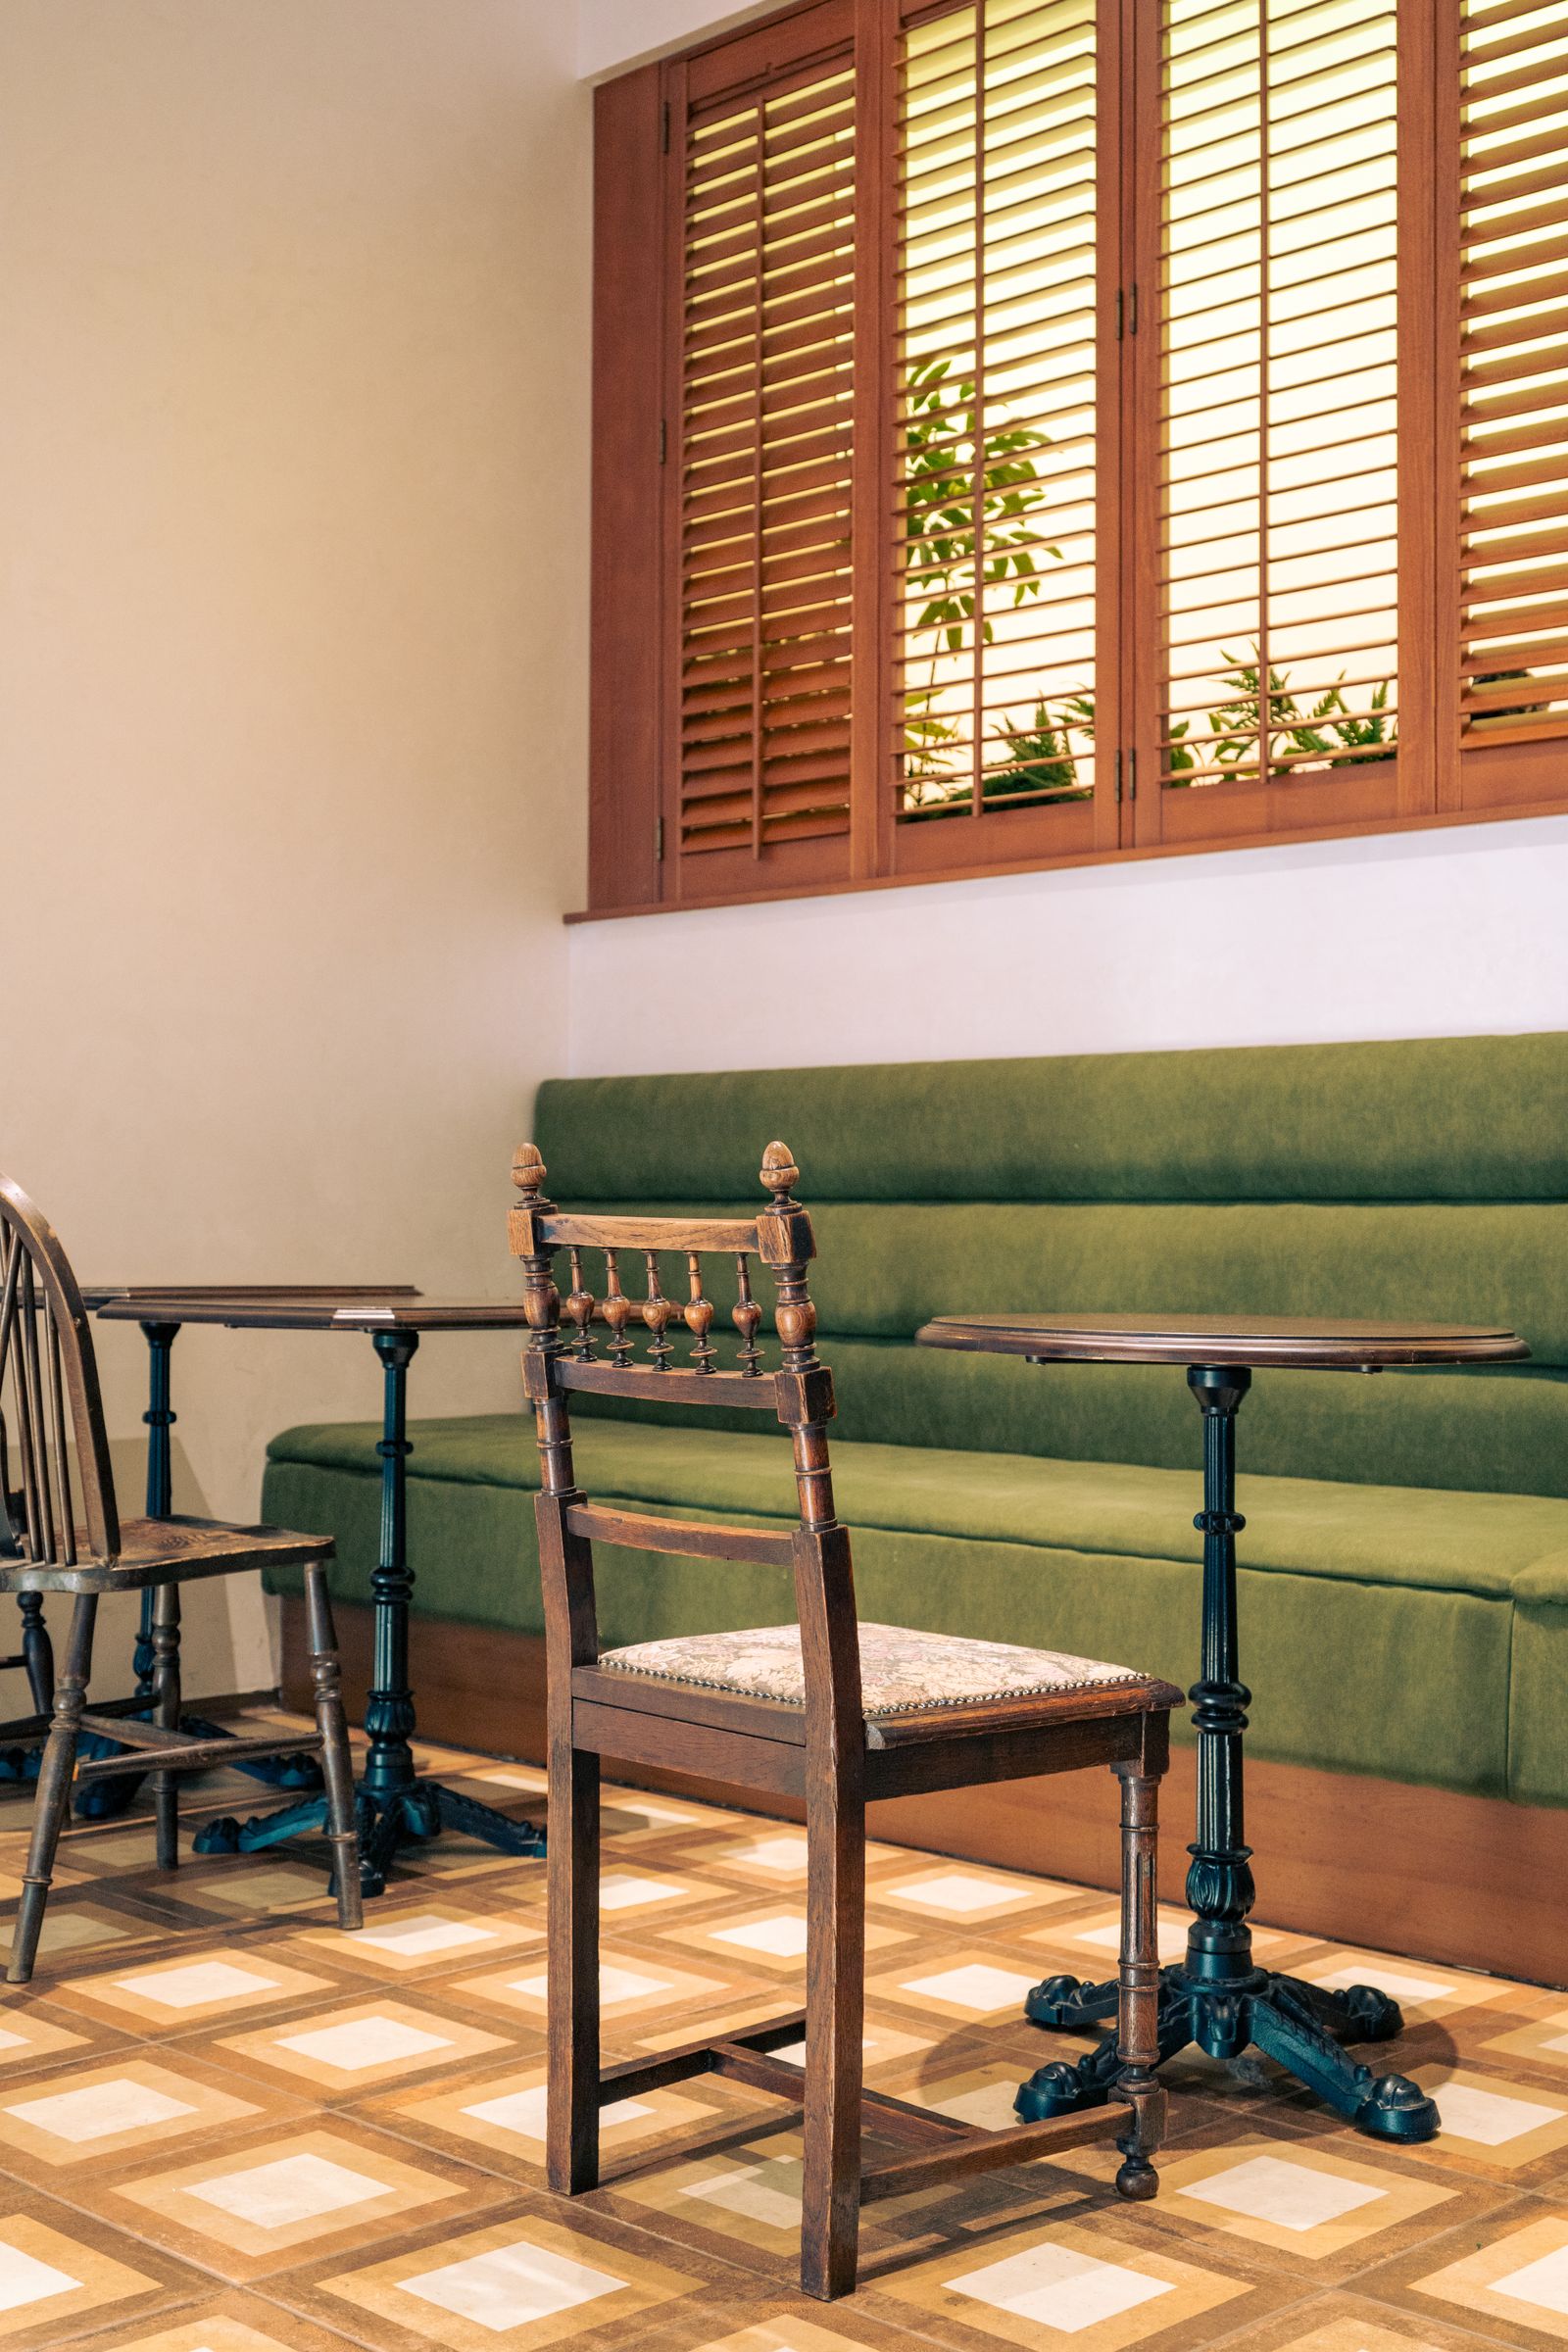
Bringing a vintage wooden chair back from the brink of the discard pile requires more than just brute force and a sheet of coarse sandpaper. Old furniture carries layers of history, often hidden beneath stubborn coats of thick lacquer, peeling paint, and dark, degraded varnish that obscure the character of the wood underneath. Working on these pieces at home offers a deeply satisfying project, provided you approach the materials with respect and caution. Vintage timber is softer and more sensitive than modern lumber, meaning that a careless slip with a metal scraper leaves permanent gouges in the grain.
Success in furniture restoration lies in patience, observation, and understanding how different finishes react to removal agents. Before lifting a single tool, inspect the joints, test the stability of the seat, and identify whether you are dealing with shellac, polyurethane, or oil-based paint. Taking the time to prepare the workspace and gather proper safety gear protects both your health and the integrity of the antique.
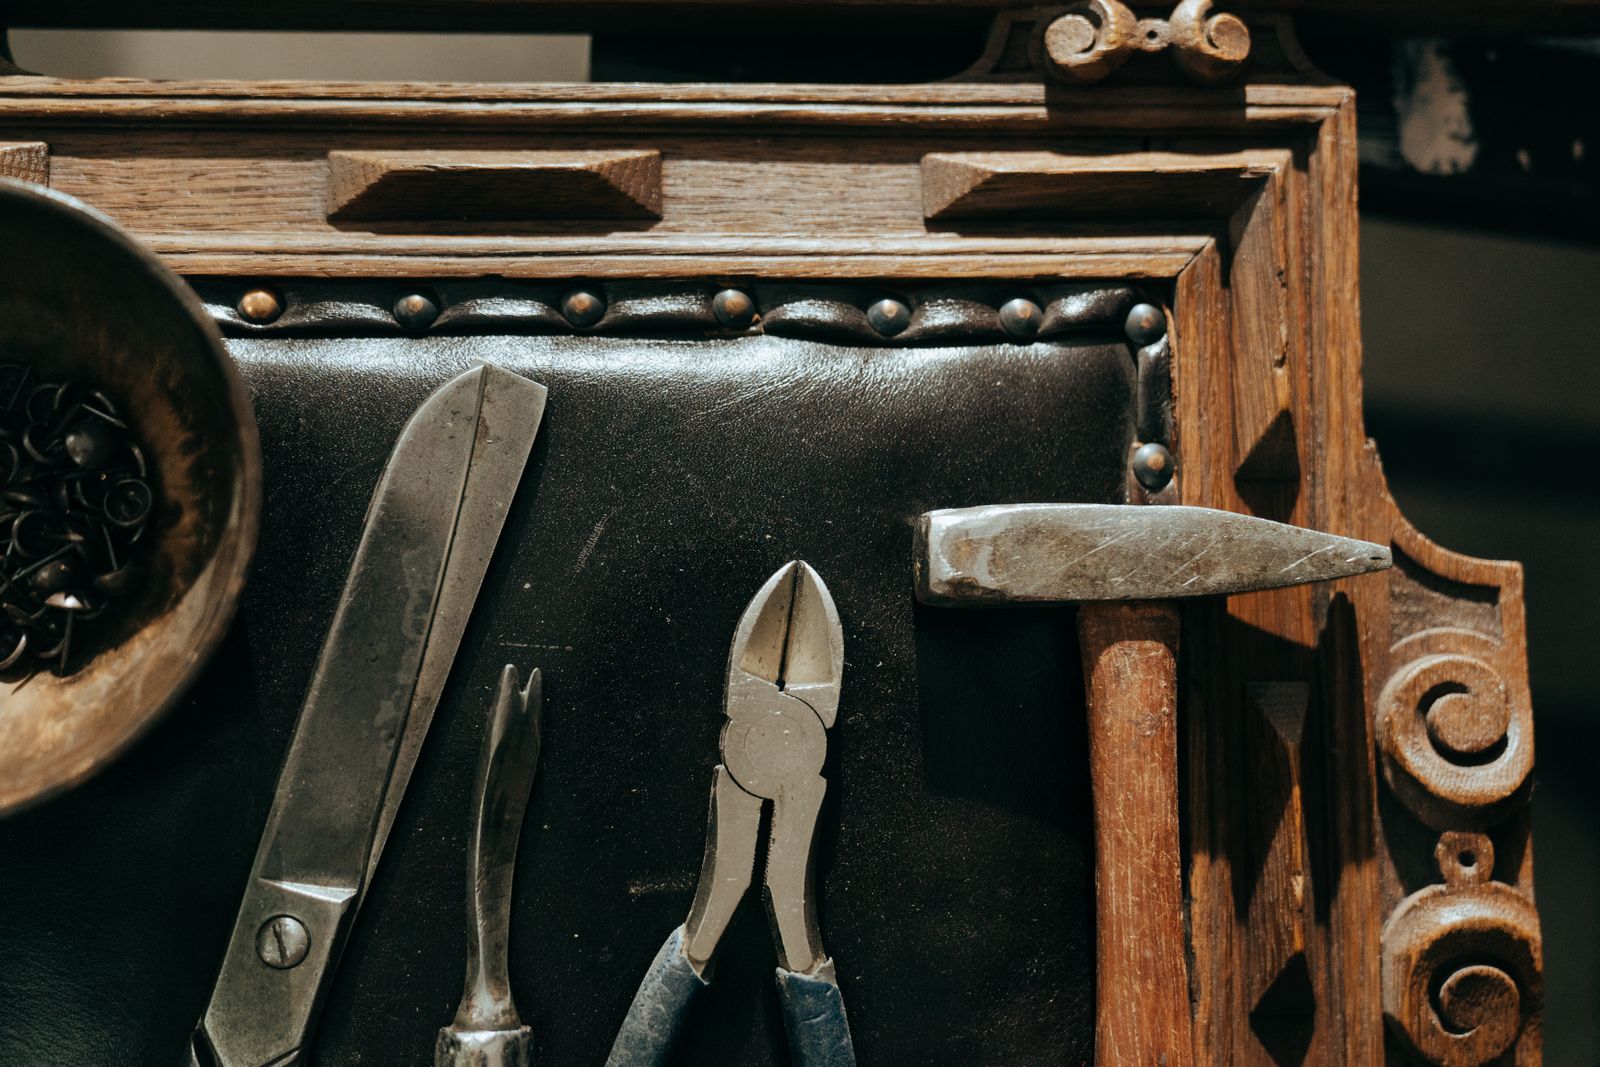
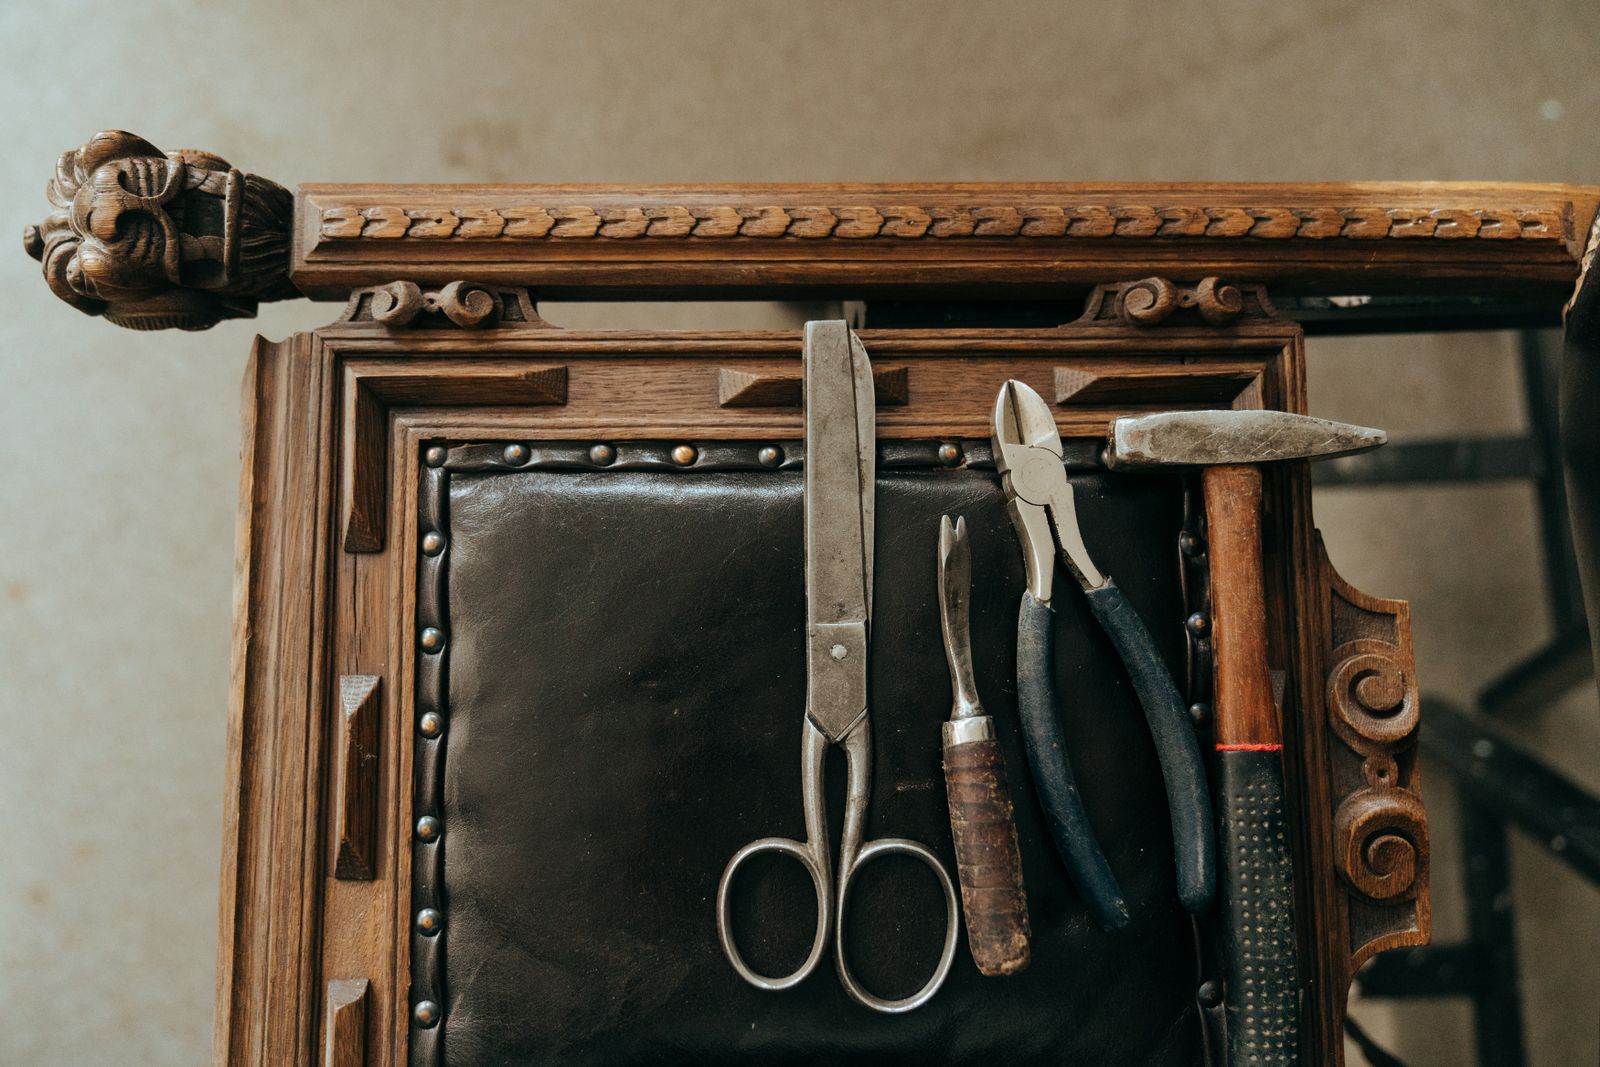
Gathering the right equipment before starting prevents frantic trips to the hardware store with chemical-covered hands. A successful home restoration session relies on mechanical helpers and protective items working together to clear away decades of grime without tearing up the underlying fibres.
The workbench needs specific items to handle the physical and chemical demands of stripping an antique chair frame safely:
Avoid metal scrapers with sharp corners, as they inevitably dig into soft pine, walnut, or beech. Wooden or brass scrapers offer enough rigidity to lift softened finishes while yielding slightly if they encounter unexpected resistance in the wood grain.
Chemical strippers break the chemical bond between the old coating and the wood surface, allowing the finish to lift away rather than requiring aggressive scraping. Apply a generous, even layer of gel stripper using a natural bristle brush, moving strictly in one direction rather than brushing back and forth. Let the product sit undisturbed so it can bubble and lift the layers, but never allow the chemical to dry out completely on the surface.
Once the old finish wrinkles and softens into a sludge, use the plastic putty knife to gently push the loosened material off the chair legs and rungs. Work your way from the top crest rail down to the feet, catching the runoff in trays lined with plastic sheeting. Stubborn corners and carved medallions require a stiff nylon brush dipped in a bit of fresh stripper to dig out the accumulated decades of paint without scratching the intricate details.
Stripping agents leave behind residues that interfere with future finishes, making the neutralization step absolutely crucial for a lasting restoration. Wash down every square inch of the chair frame using mineral spirits or warm water mixed with a splash of vinegar, depending on the specific instructions of the stripping product used. Scrub lightly with fine steel wool to lift the final stubborn haze of old varnish trapped inside the pores of the timber.
Allow the damp wood to dry completely in a well-ventilated room for at least forty-eight hours before moving on to any surface preparation. Rushing this drying period traps moisture deep inside the joinery, which later causes cloudy spots under new topcoats or weakens the old glue joints holding the chair together.
Sanding vintage wood requires a light touch and a strict progression through ascending grit numbers to avoid creating flat spots on curved chair spindles. Start with a medium-fine one-hundred-twenty grit paper only where stubborn discoloration or residual finish remains, always backing the sandpaper with a soft foam block to follow the natural contours of the furniture.
Transition next to one-hundred-eighty grit paper to smooth away any raised wood fibers caused by the liquid stripping and washing processes. Finish the entire frame with two-hundred-twenty grit sandpaper, moving your hand in gentle circles that run parallel to the direction of the wood grain rather than across it. Wipe the bare wood clean with a tack cloth to capture every speck of fine dust before deciding whether to apply a clear oil, wax, or fresh protective varnish.